
The amount of popularity blush has garnered recently is amazing. All thanks to TikTok, which kept introducing us to technique after technique to apply blush like a pro. Back then, the only technique that we at Beauty N Blush were familiar with was to take a color and dab it on the apple of your cheeks, and voila, the glow is there. But is it really?
While the BeautyTok is swirling with alphabetical techniques like C-shaped, L-shaped, and W-shaped techniques (yes, I never knew ABCs would come into play here), as well as some old classics, here are a few things that are often overlooked, which dulls your blush game.
So, before experimenting with these viral techniques, it’s important to get the basics grilled down. Whether your blush won’t stay put or you’re worried about using the wrong color or formula for your skin tone, we’re here to help. We know these struggles and the never-ending frustration that comes with them because how hard can a cool, cute, color-looking product be?
It can be confusing at times, but you needn’t fret. With the blush hacks in your arsenal, you’ll have a pretty long-lasting glow, no matter whether your skin is oily, dry, or sweaty. Our detailed guide lists all the tips and techniques you can use to rock your blush game. With these tips, get ready to apply blush perfectly every single time and have that rosy, youthful look of your dreams.
Prep Your Skin the Right Way
All experts agree that prepping your canvas (skin) is key to makeup success. If you want your blush to last all day and give you that rosy glow, always start by washing your face first and then moisturizing.
Doing this would ensure that you get an HD-camera result in which you look flawless, thanks to super-hydrated skin. If not, fine lines and cracks would make their way in and ruin it. Forget the dewiness altogether; your skin would not have that luster that makes it radiance and smooth. No matter what high-end products you are using, everything will go down the drain if your skin lacks moisture.
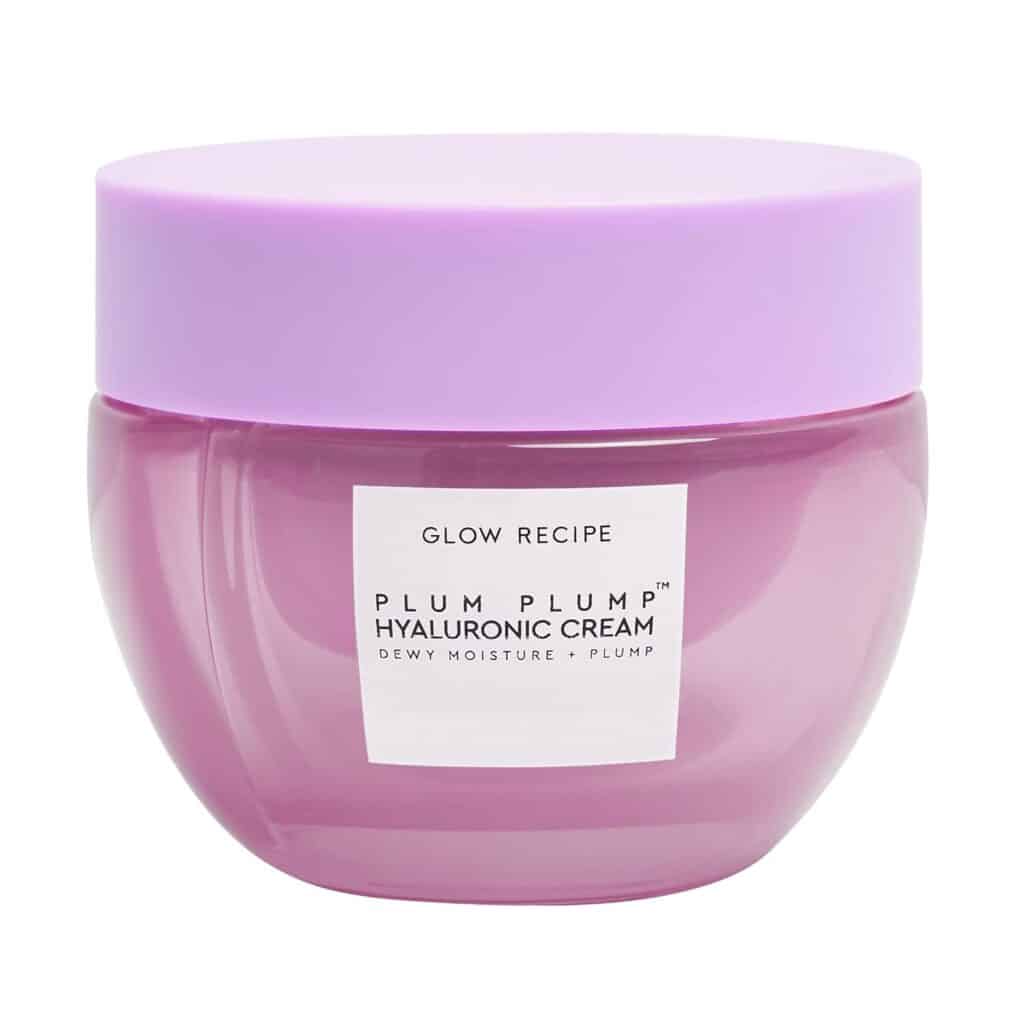
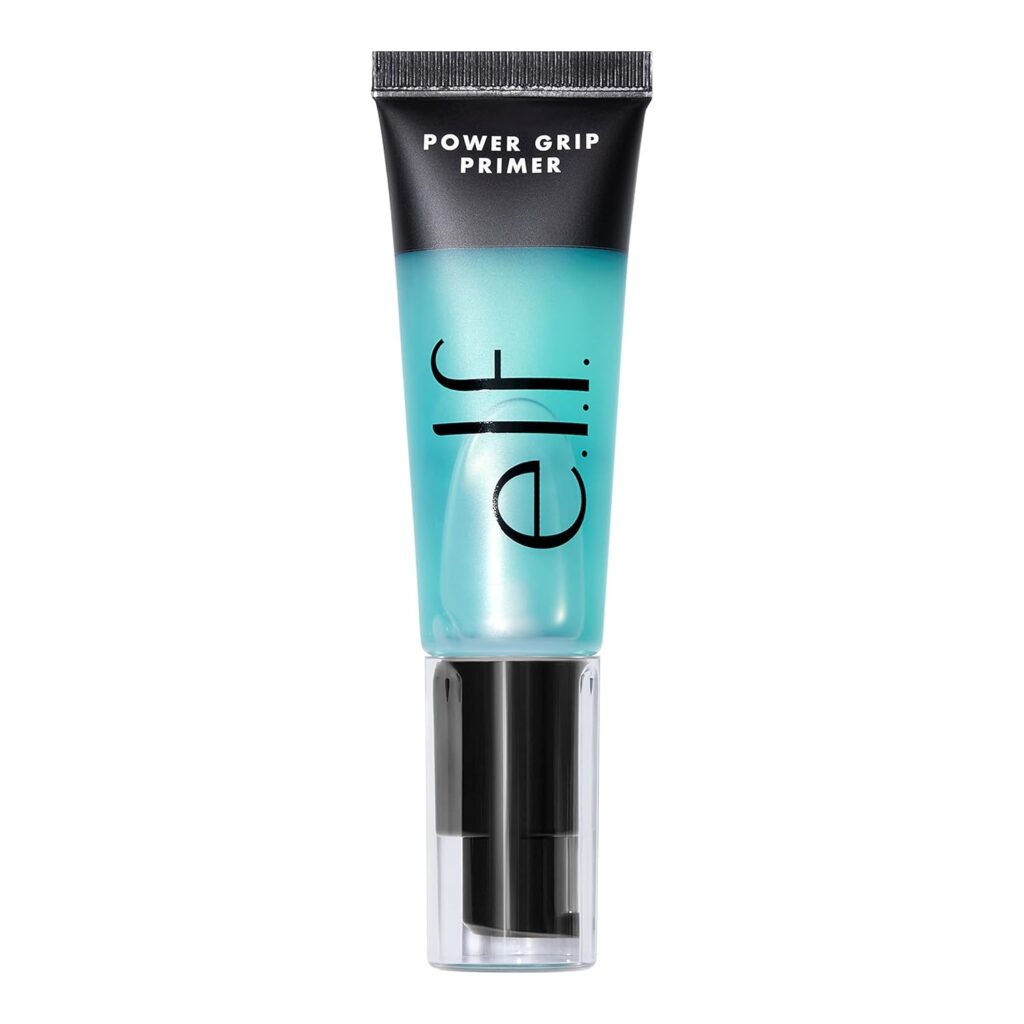
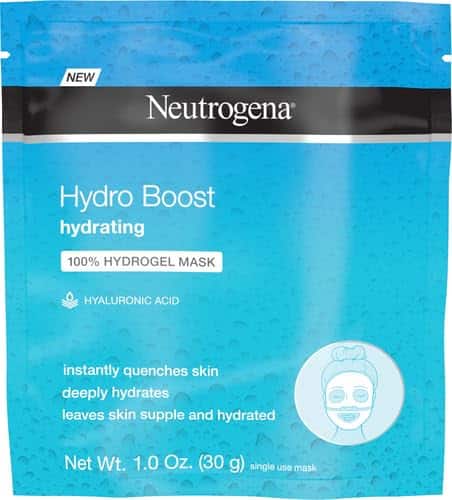
Dry or oily skin doesn’t hold the makeup well, so keeping your skin exfoliated, hydrated, and healthy allows makeup to blend in beautifully and last all day long. To make your blush last longer, start with a moisturizer, followed by a makeup primer and a foundation, so that your blush has something to stick on, too. Naoko Scintu, a makeup artist, tells Vogue that for maximum hydration, you can also begin with a hydrating sheet mask to give all the moisture your skin wants.

Choose the Right Shade That Works With Your Skin Tone
When it comes to blush, no one size fits all. It’s important to know your skin tone and undertones to choose the right shade. Otherwise, if you go too dark or light, grayness will reign, and there will be no rosy glow.
To ensure this doesn’t happen to you, knowing how your natural flush looks can be a big help. Try pinching your cheek now and notice the color – there it is. If you still have trouble or are confused about what shades go well with your skin tone, here are a few tips you can use to figure it out:
Determining your skin tone and undertone
Before we discuss how to determine your skin tone and undertones, let’s briefly discuss what these two terms mean.
Think of skin tone as the surface color of your skin, the color that you identify with or tell other people about when they ask what complexion you have. Generally, skin tone is divided into four broad categories: fair, light, medium, and dark.
Skin’s undertone refers to the subtle hue beneath the surface color (skin tone) and is usually warm, cool, or neutral. An easy way to determine your skin’s undertone is to check the color of your veins.
- Warm undertone has green-colored veins
- Cool undertones have blue-colored veins
- Neutral undertones have a mix of green and blue colored veins
Once you have figured out your skin’s tone and undertone, the next step is to choose the hue (blush) that flatters your complexion.
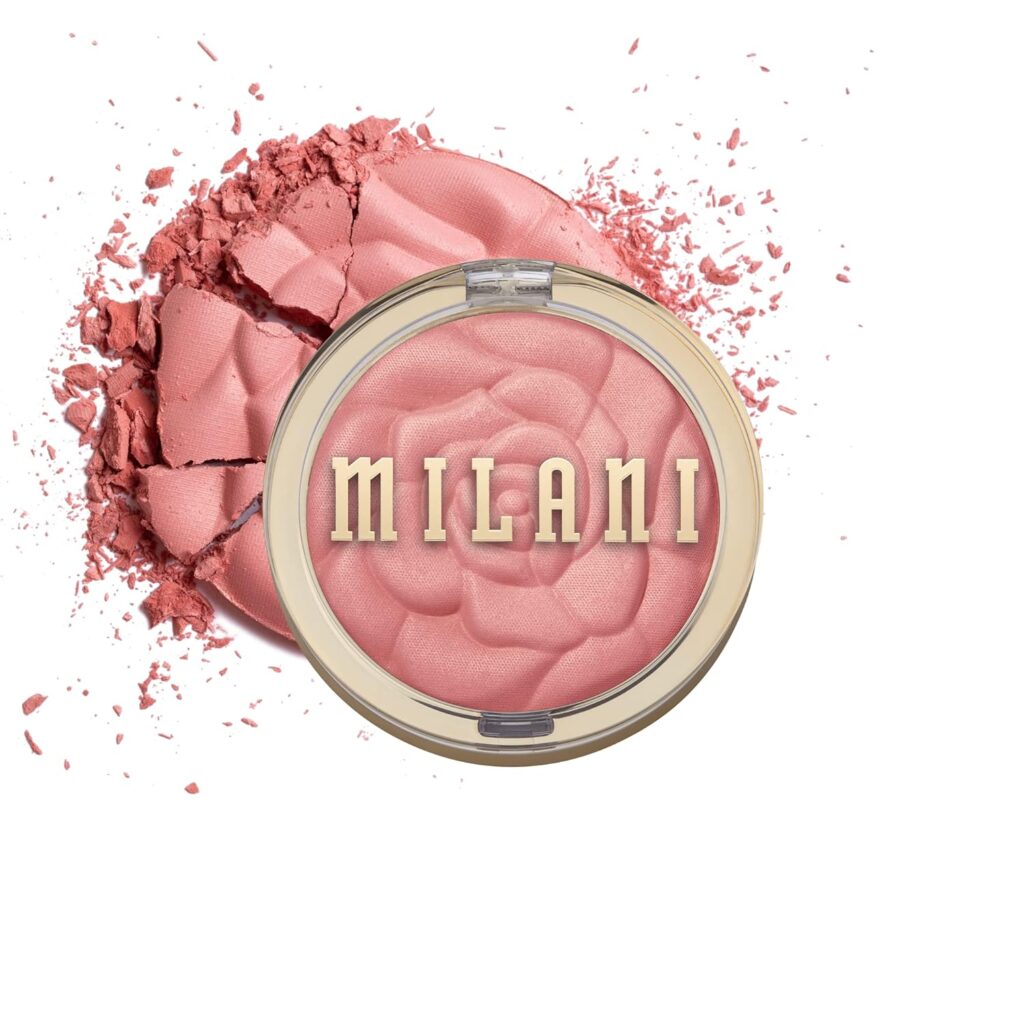
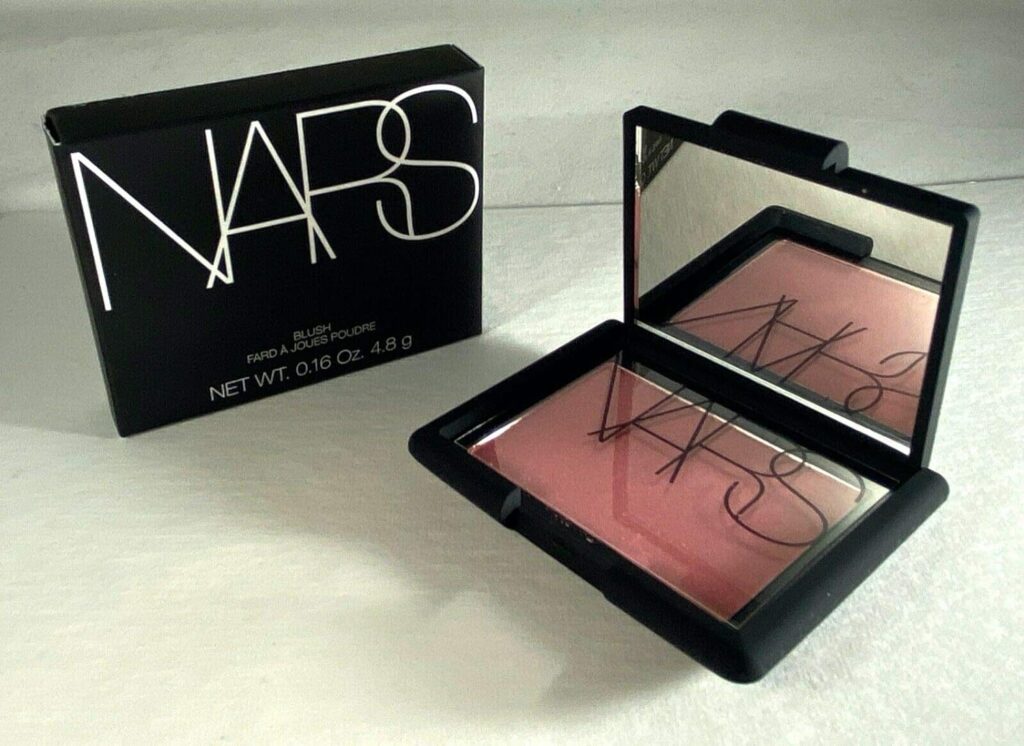
If you have a fair complexion, lighter blush shades such as pale pink, light peaches, and subtle roses would play nicely with your skin’s tone. Opting for these hues would give you a slight flush that enhances your complexion without looking too loud. We like Milani Rose Powder Blush and Nars Blush in Orgasm.
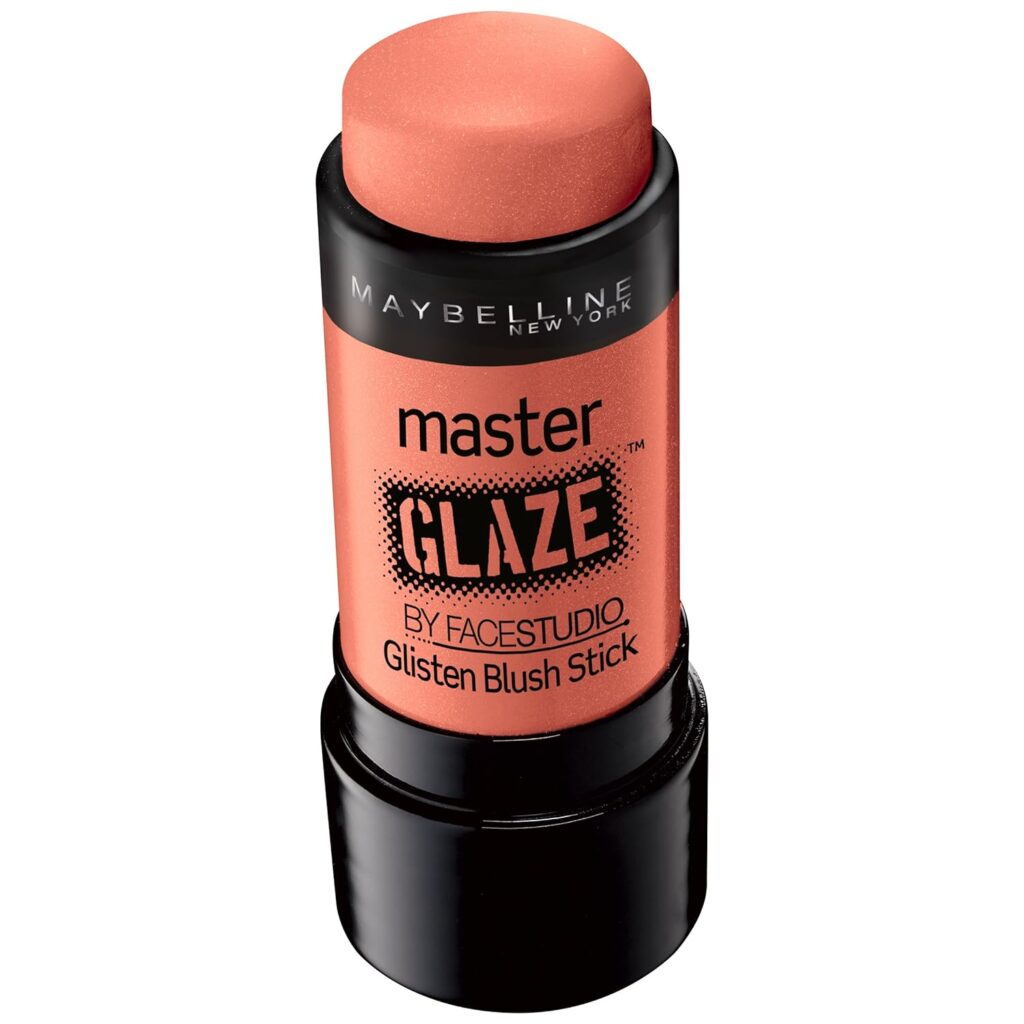
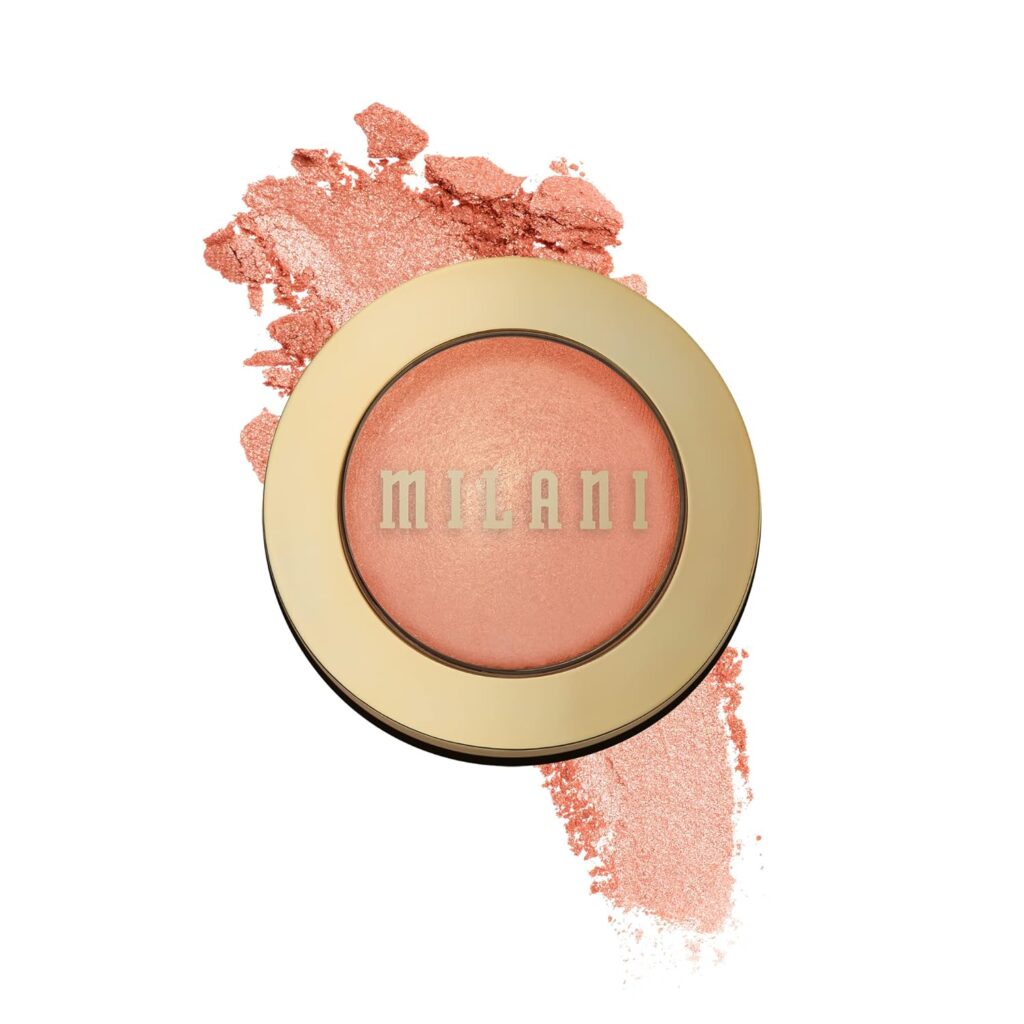
Lighter skin tones can opt for warm peaches or soft carols. Try Maybelline New York Face Studio Master Glaze Glisten Blush Stick in Coral Sheen or Milani Baked Blush in Luminoso.
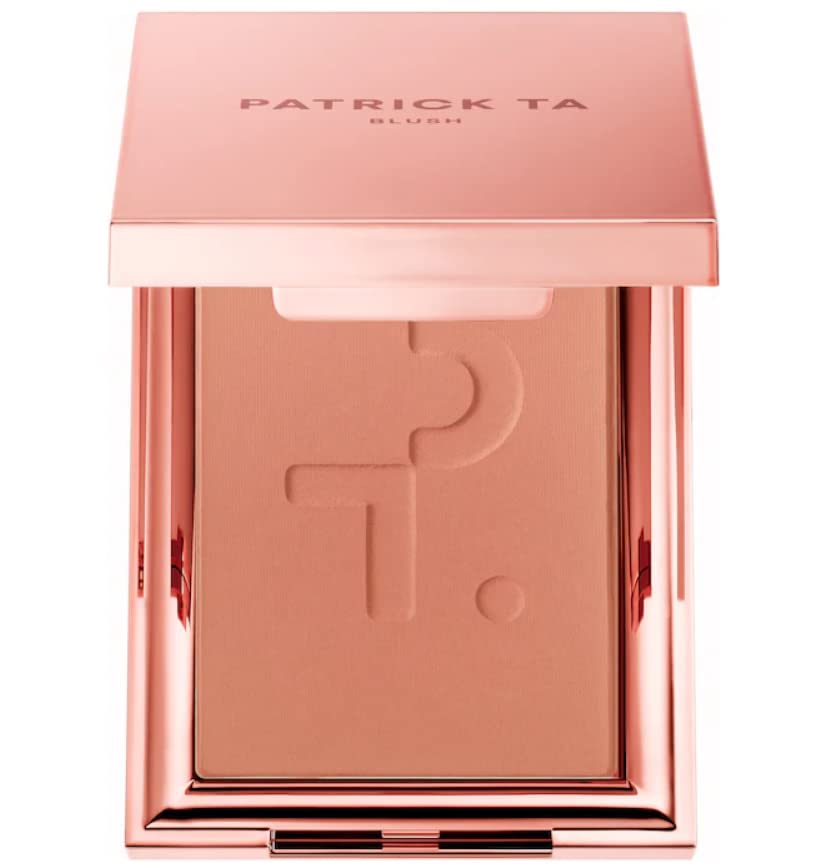
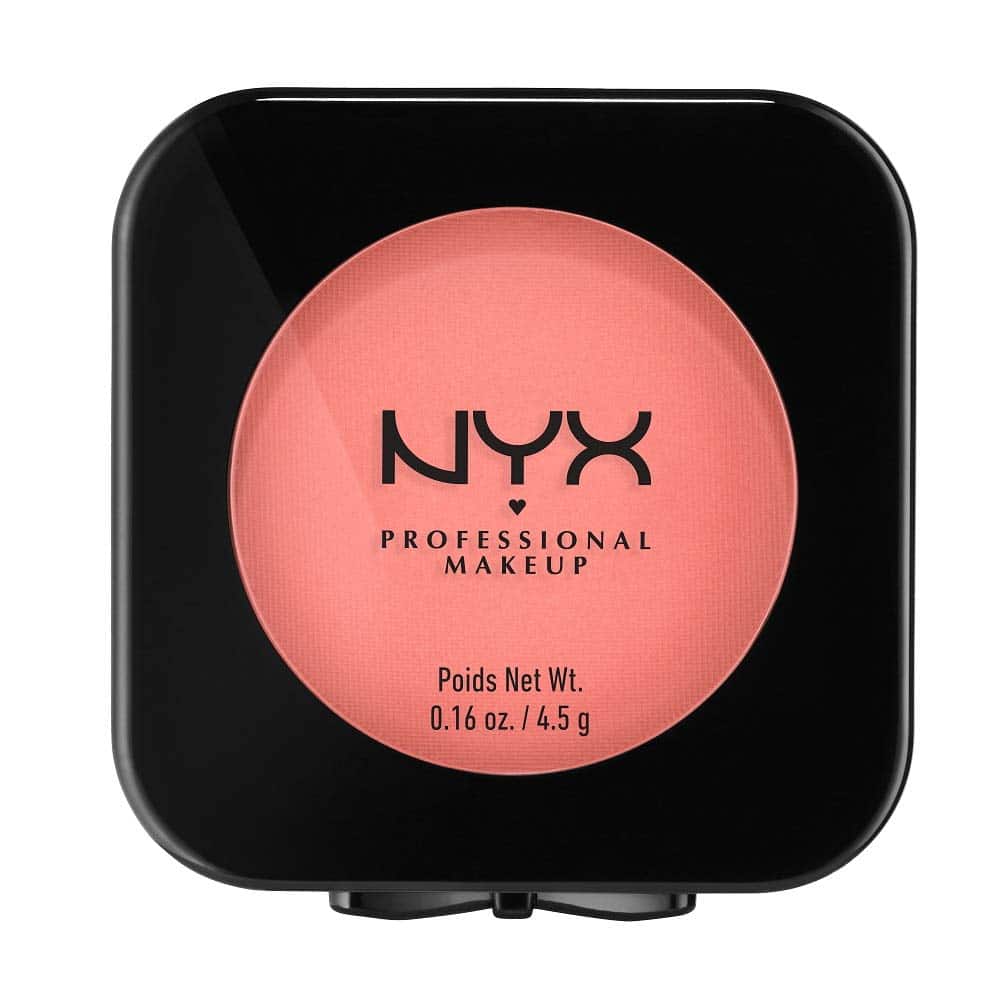
The options for medium skin tones are versatile. From pale blushes to mauve, pinks, reds, and warm berries, you can experiment with a variety of hues. We like Patrick Ta Monochrome Moment Velvet Blush in She’s Sincere and Nyx Professional Makeup Blush in Amber.
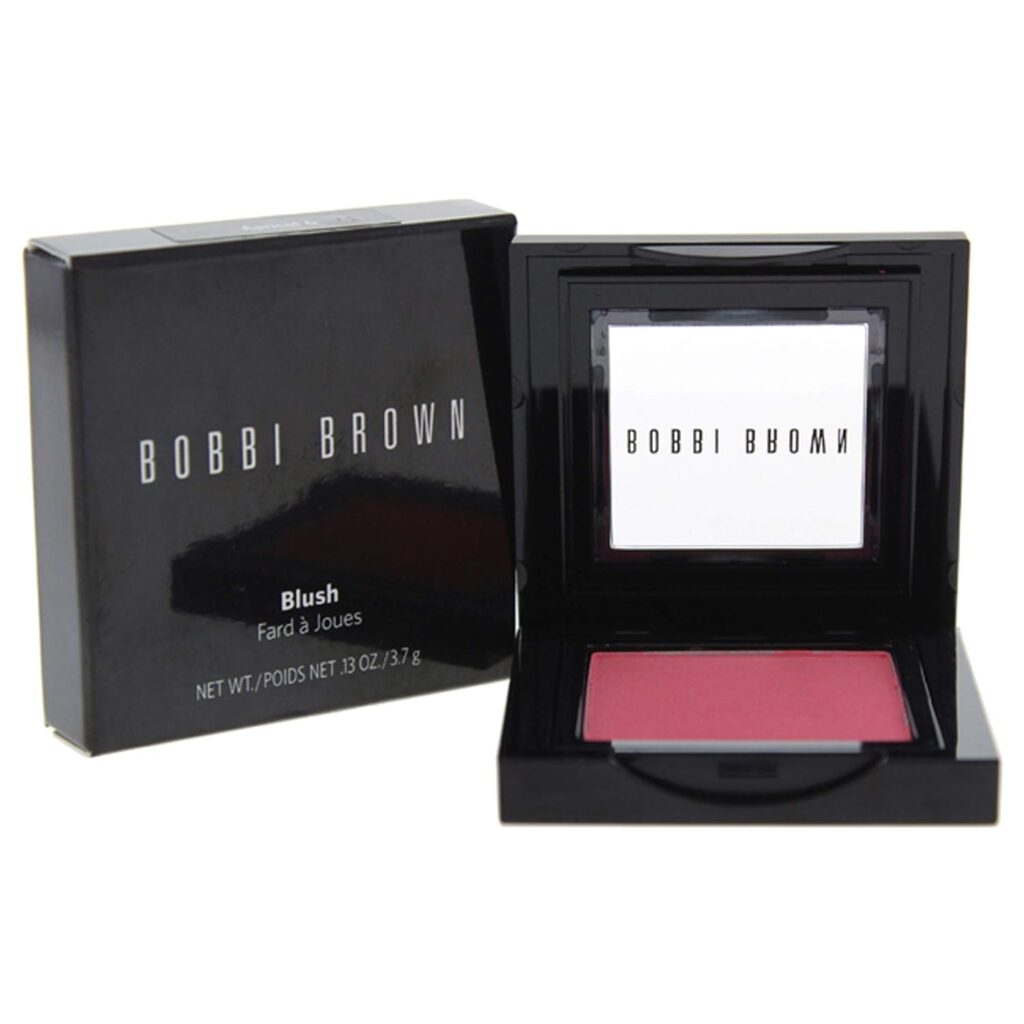
If you have a dark skin tone, choose brighter hues like berries, terracotta, plums, or apricots. Bobbi Brown Blush in Apricot and Live Tinted Huestick in Free are good choices.
Find a Right Blush Formula That Goes With Your Skin Type
Finding the perfect formula for your skin type is as important as choosing the right shade for your skin tone. Blush typically falls into three categories: powders, creams, and stains.
Choosing the formula that works well with your skin type is crucial for achieving that flawless, polished look. The perfect formulation will enhance your complexion and ensure longevity and comfort throughout the day.
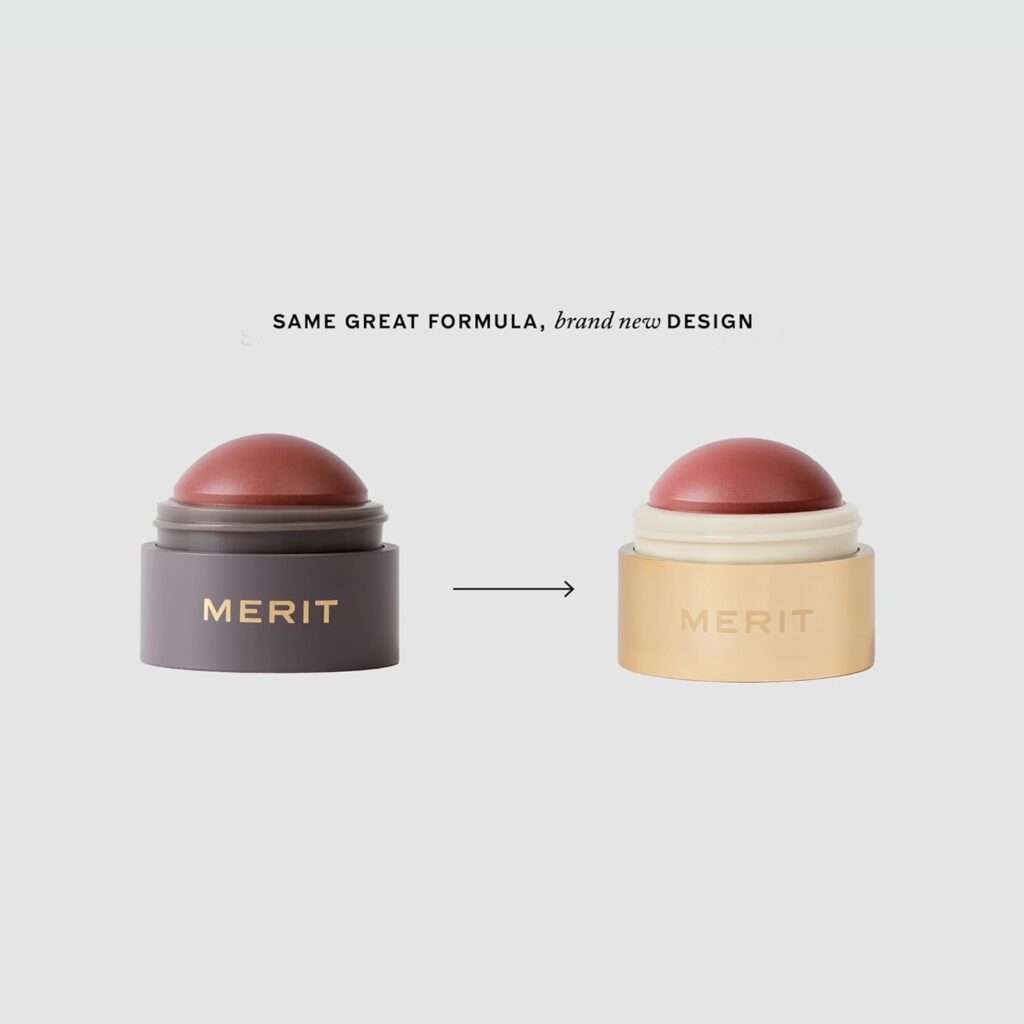
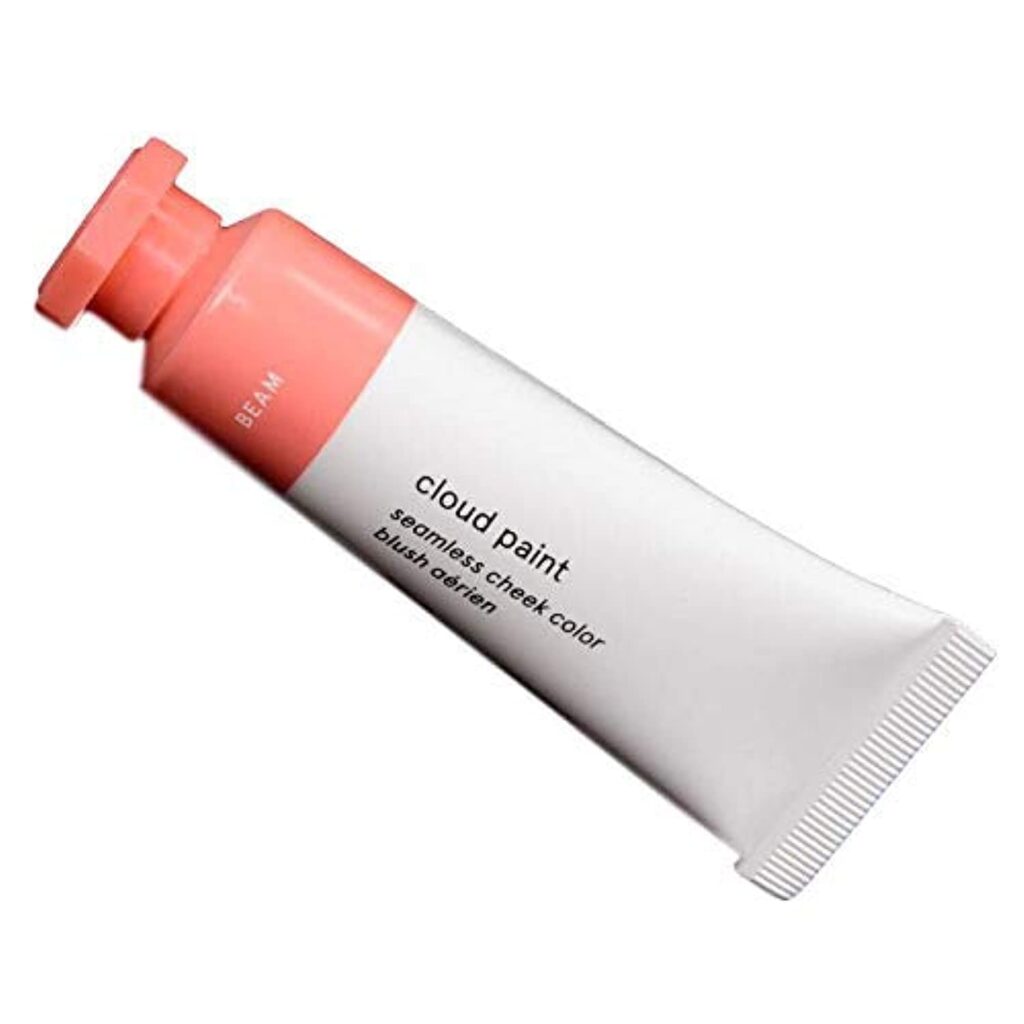
For dry skin, opt for cream blushes. They are loaded with emollients and don’t melt away into the skin without settling into fine lines. Cream blushes give you a dewy finish and a naturally flushed glow and are notoriously easy to apply. We love Merit Flush Balm Cream Blush and Glossier Cloud Paint.
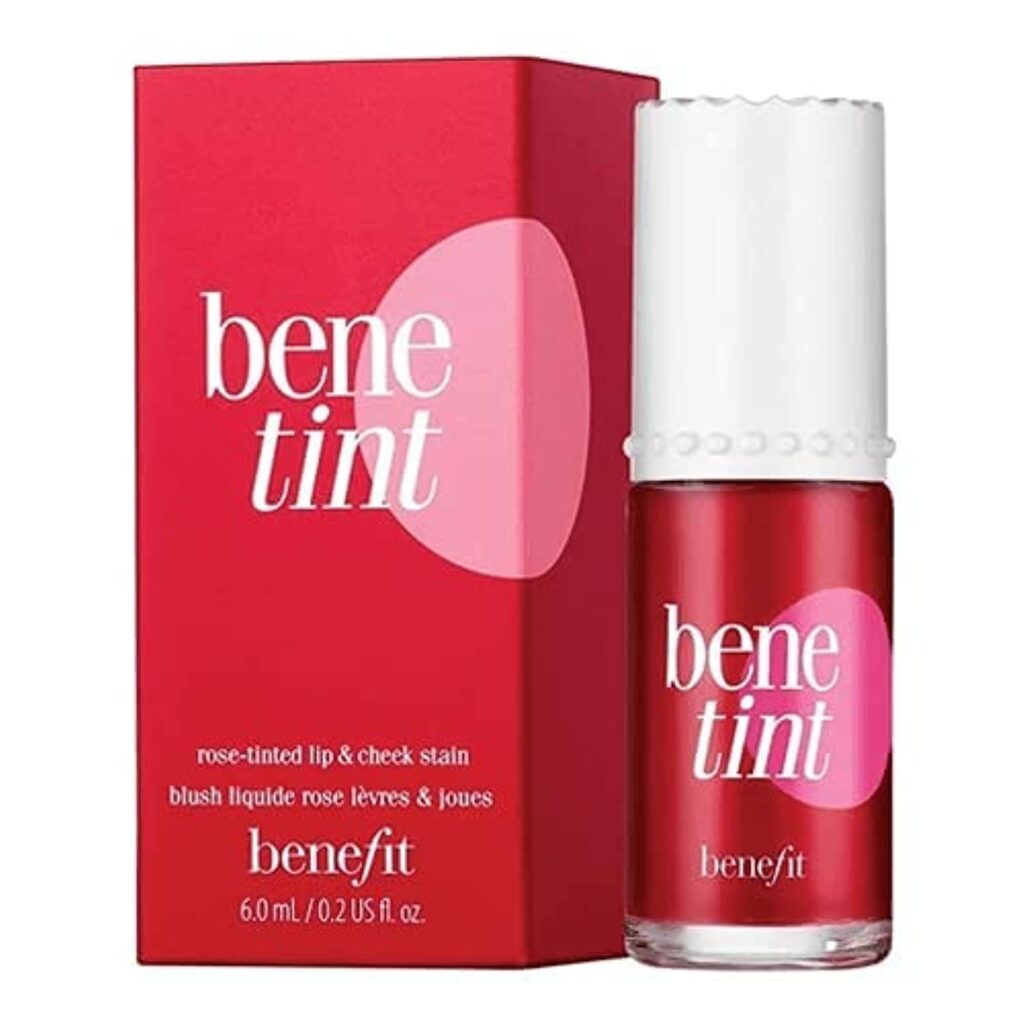
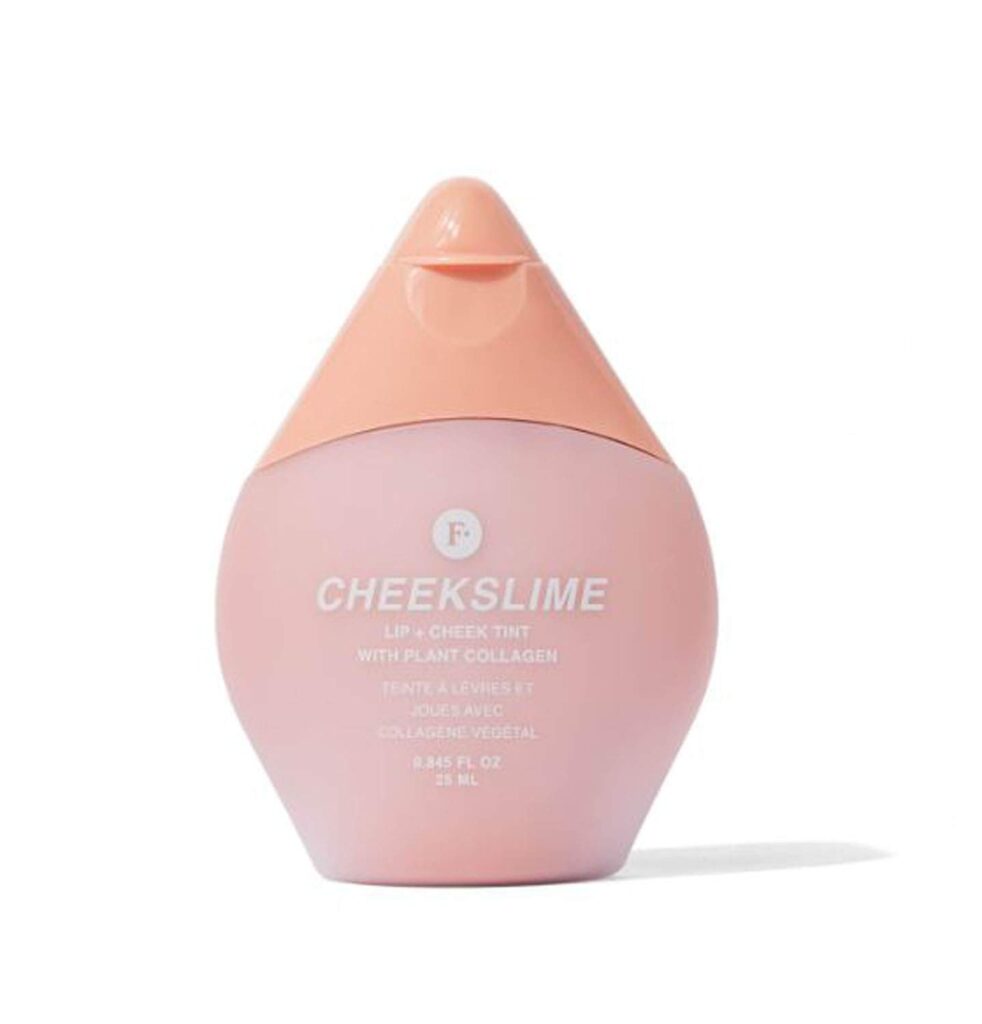
For oily skin, go with cheek stains. These lightweight, quick-to-dry water-based or gel-like formulations adhere to the oily skin well without the risk of melting away. Apply a little at a time and blend before it dries out. Our favorites are Benefit Bene Tint Lip and Cheek Stain and Freck Beauty Cheekslime Lip + Cheek Tint.
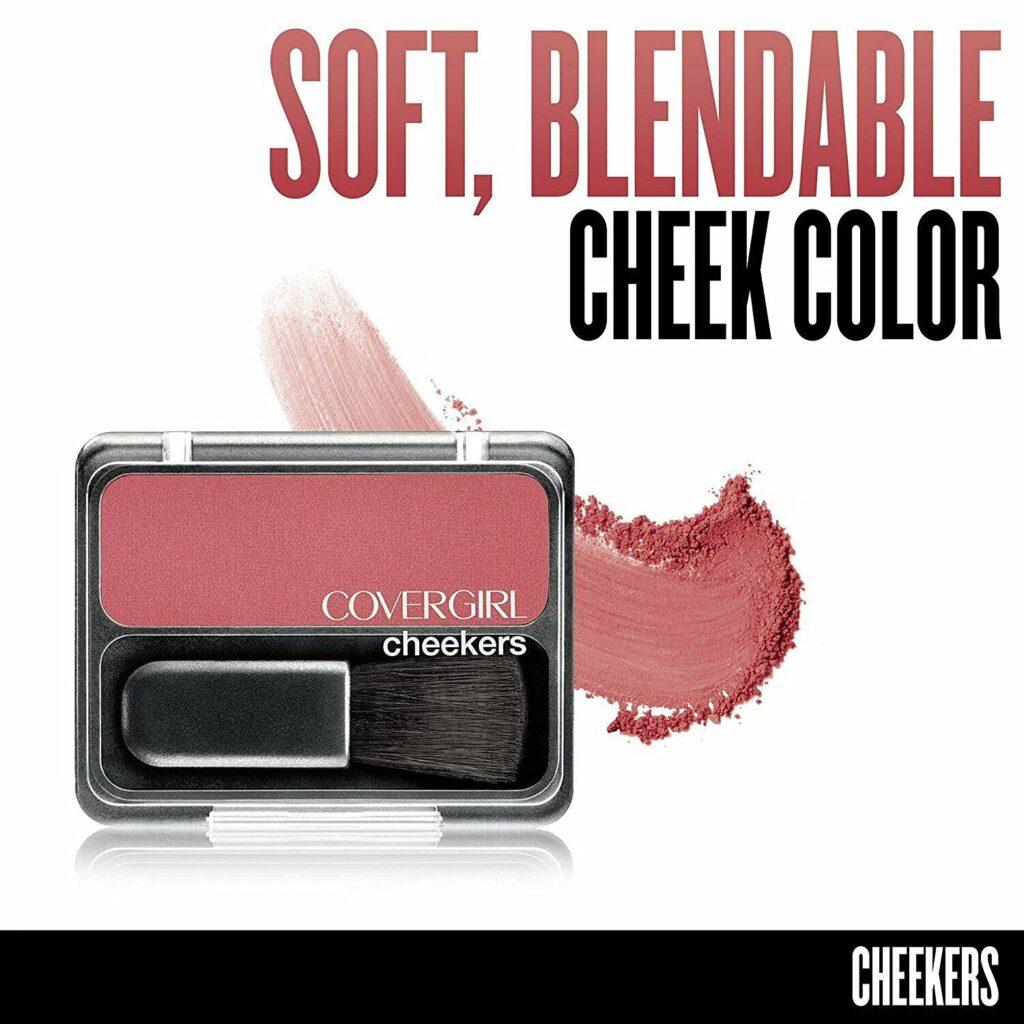
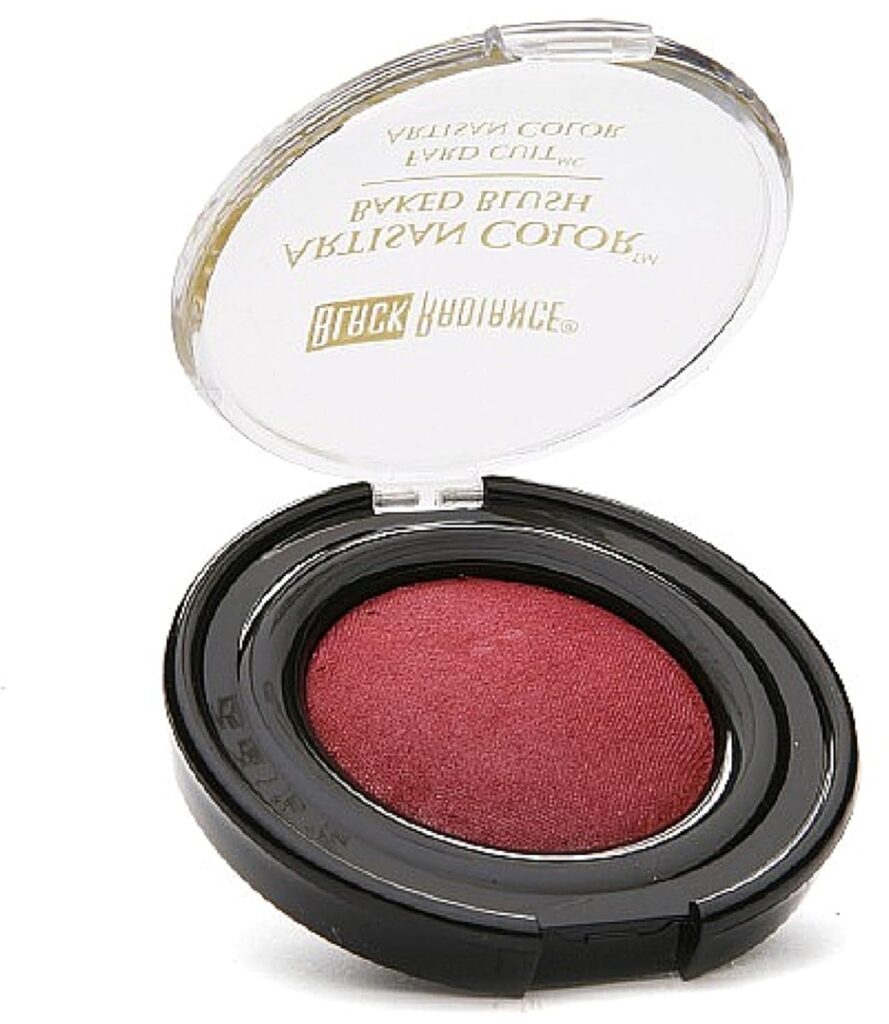
If you have normal to oily skin, try powder blushes, as they are versatile. Their finely milled texture makes them incredibly lightweight and great for gliding over pores. They offer a blurring effect, which is a win-win situation for people with oily skin types. They typically dry down to a matte finish, which helps control excess oil and shine. We like Covergirl Cheekers Blendable Powder Blush and Black Radiance Artisan Color Baked Blush.
Pick the Right Blush Brush
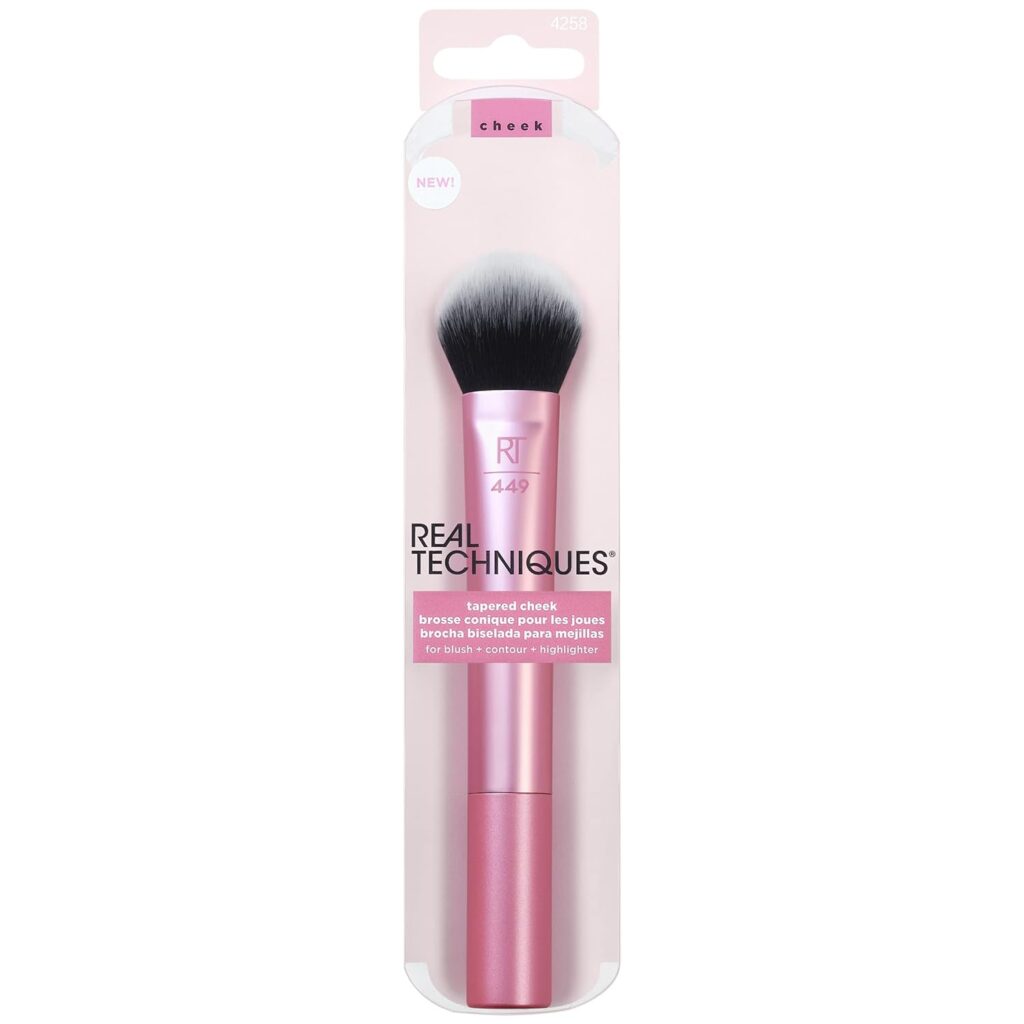
Products won’t matter much if they are not applied right. To ensure that your blush gives that natural-flushed look, you must have the right tools at your disposal. This Real Techniques Tapered Cheek Makeup Brush is perfect for applying blush, whether it’s powder, liquid, or cream. The soft, synthetic, small, tapered bristles ensure a smooth and even application. Just swirl the brush into the product, tap off the excess, and apply it to your face.
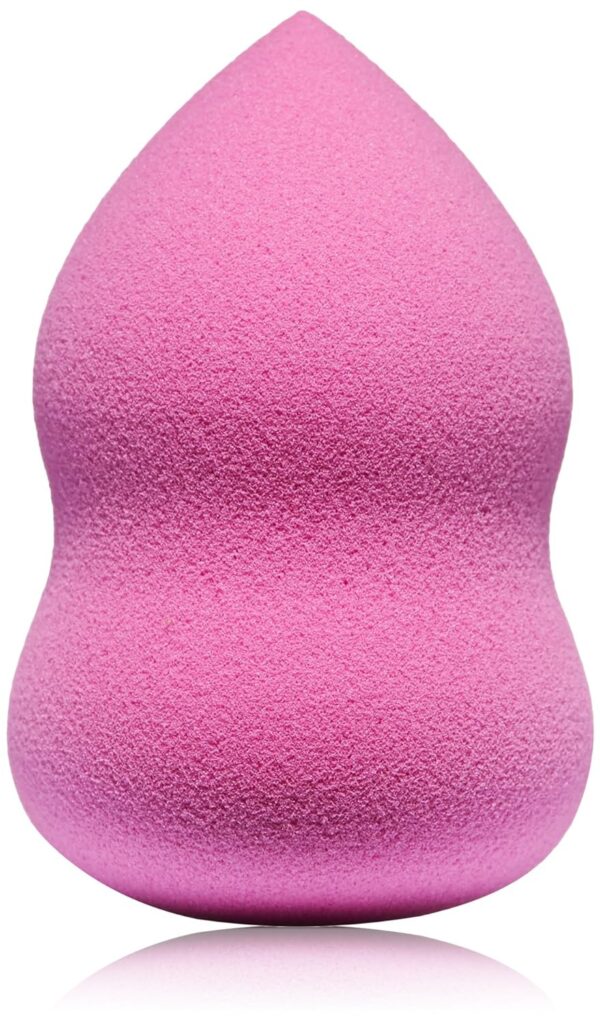
You can also use a beauty blender, and we love this plush sponge by L’Oreal Paris Blend Artist Foundation Blender. It offers effortless application every time, and its teardrop shape helps you achieve a soft, subtle look or a dramatic pop of color on your cheeks.
Make sure that your blush is well-blended and gives a natural-flushed effect. If it’s too light, the color will not be noticeable, and if it’s too dark, well, let’s try not to imagine that clown look.
Set Your Blush With a Translucent Powder or Tissue
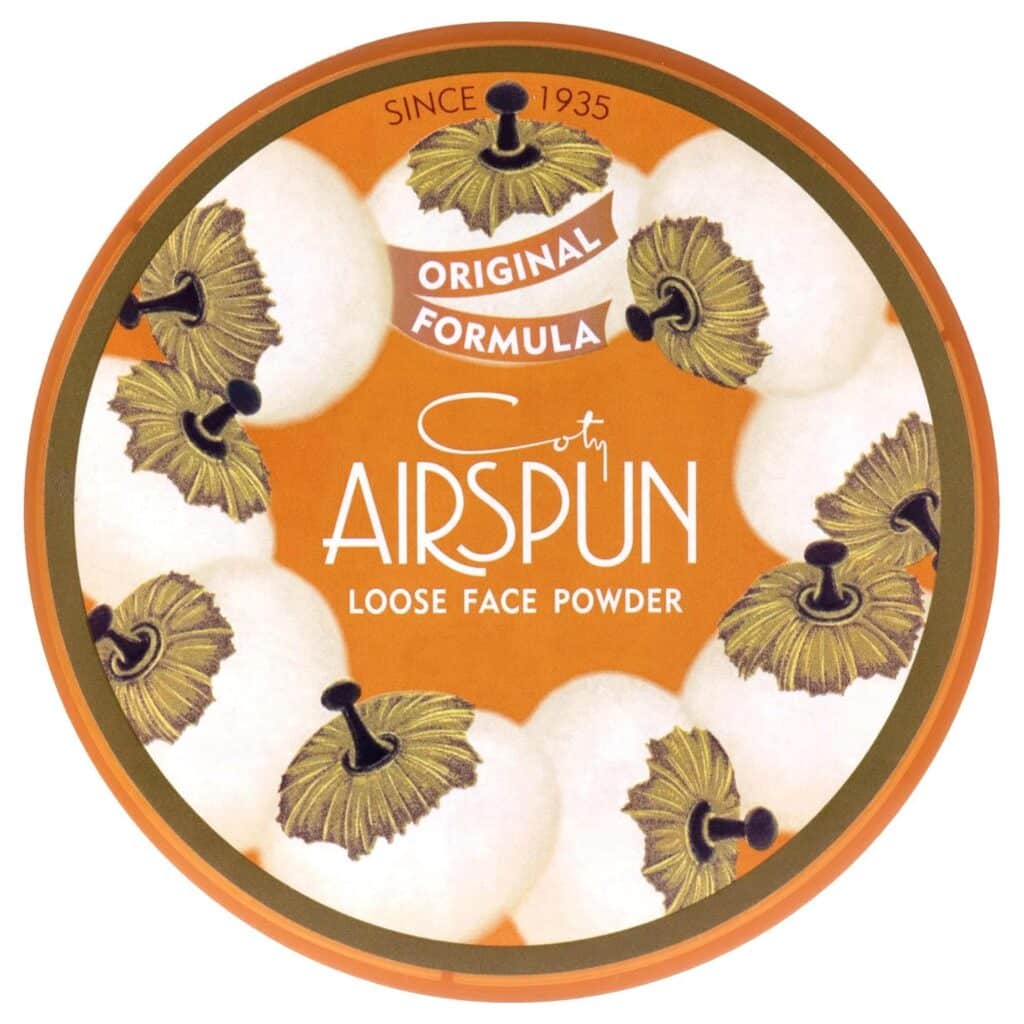
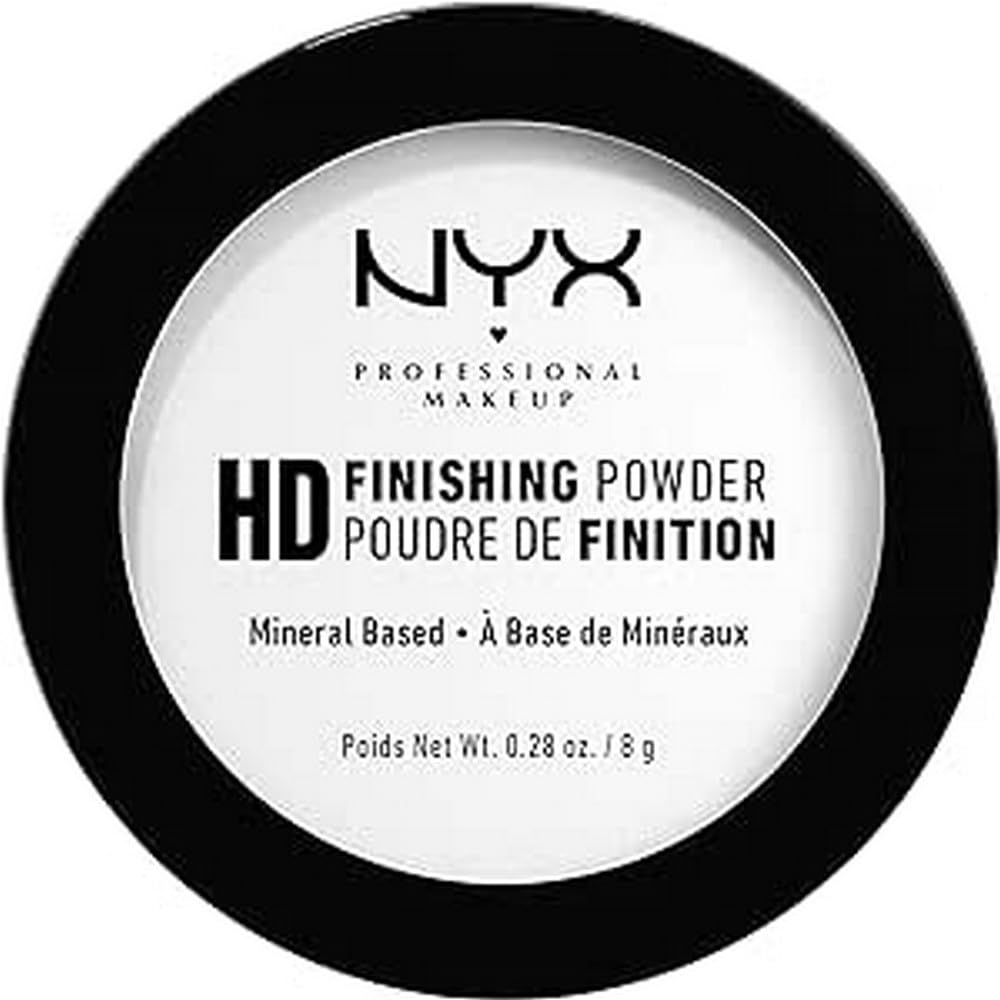
Use translucent powder to set, as it helps to mattify the skin and lock makeup in place. We recommend using Coty Airspun Loose Face Powder or Nyx Professional Makeup HD Finishing Powder. If translucent powder is not available, you can also set your blush using a tissue. Just hold a tissue on your cheek and lightly press it with a makeup sponge to absorb the extra product without toning down your glow.
Lock Your Makeup With a Setting Spray
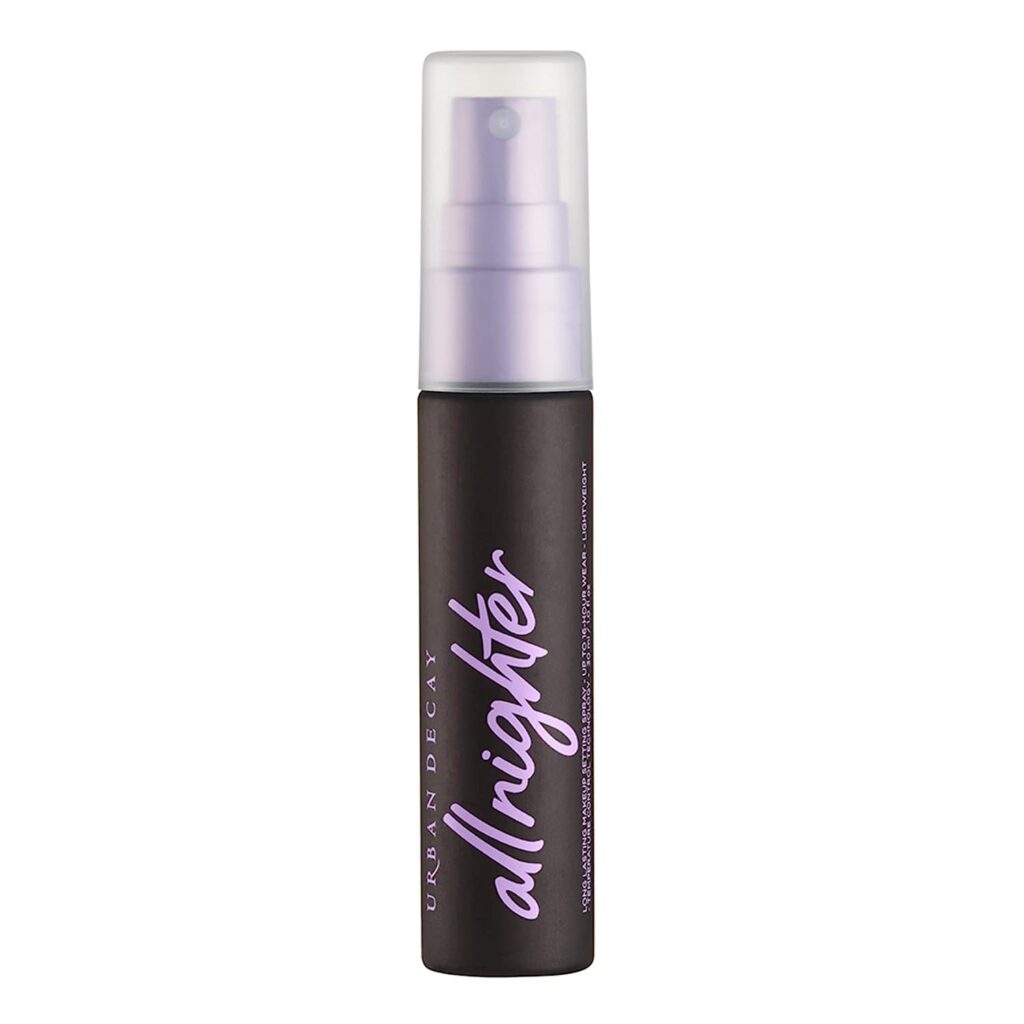
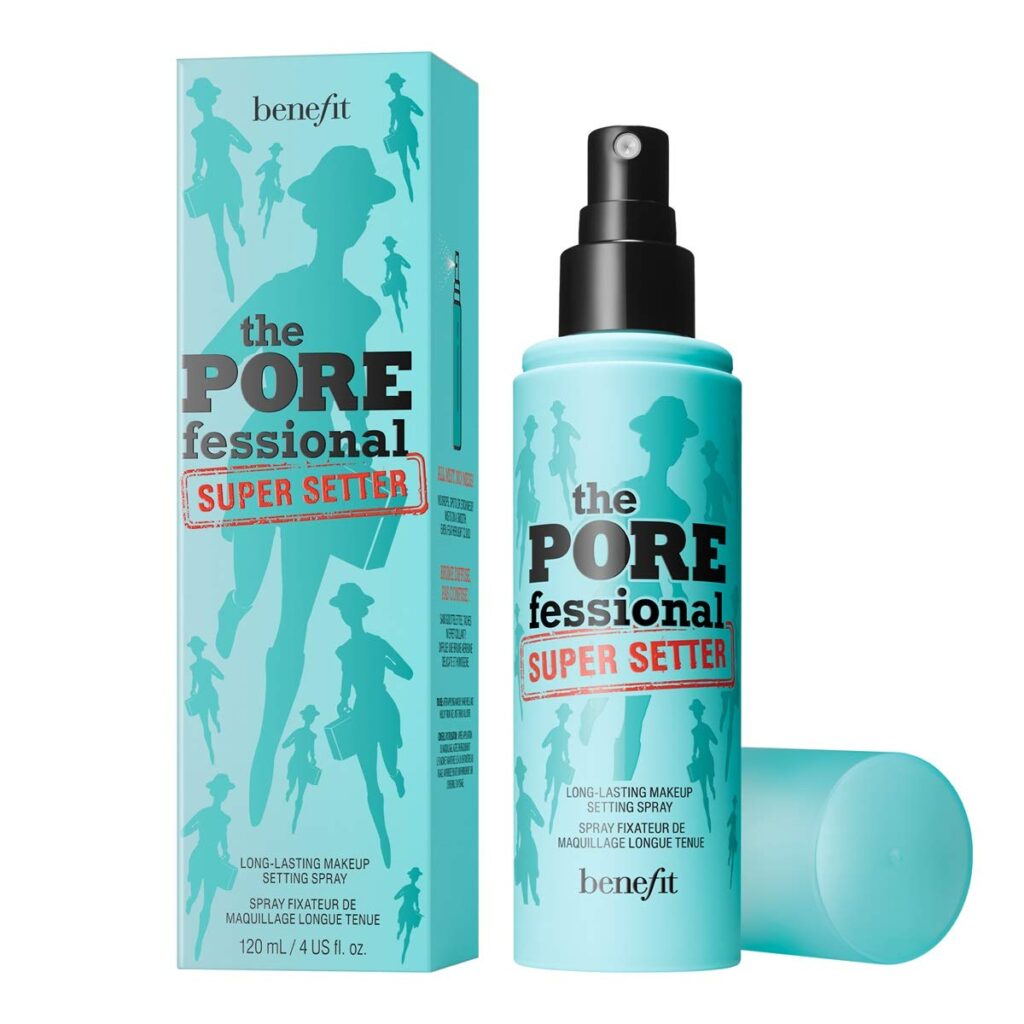
Once you’re done with your makeup, spritz a few sprays of a setting spray on your face to lock the makeup in. Use it in both T and X motions to cover your entire face. If you don’t have one already, try Urban Decay All Nighter Long-Lasting Makeup Setting Spray or Benefit Cosmetics Porefessional Super Setter Long Lasting Makeup Spray.
Buzzing Blush Techniques
Monochromatic Strawberry Makeup
Blush is a versatile product that is not limited to cheeks. Makeup artists have been experimenting with this multi-tasking product and using it to add a flush of color to various parts of the face.
Cosmetic artists have been using blush beyond the cheeks, such as temples, forehead, nose, and even the eyes – thanks to the monochromatic strawberry makeup trend. This trend is all about embracing a sweet, pink-red hue and using it across your entire face.
To achieve that natural sun-kissed look, just choose your preferred shade of cream blush and swipe it across your eyes, lips, nose, and the apple of your cheeks.
L shaped technique
Another trend taking the BeautyTok by storm is the L-shaped technique. It is pretty simple: All you need to do is form an L-shaped letter with your thumb and index finger and place it so that your thumb is at the bottom of the nose and the index finger is pointing upwards towards the eyebrow. The part of the cheek that falls within the L shape is where you’ll apply your blush.
This technique is making rounds on the Internet. Beauty enthusiasts are hopping on this bandwagon because it faces and enhances your cheekbones by giving you a healthy glow with your blush shade; dip your blush brush or sponge into it, and tap off the excess product. Start at the top of your cheekbones, sweep the blush horizontally toward the center of your face, and stop when you reach the apple of your cheeks. This is the first part of “L.” with feather-like, light strokes, blend the blush thoroughly into your skin till you don’t see any harsh edges or lines.
Dip your blush brush or sponge again and begin applying the blush in a vertical line – the second part of the “L” shape. Blend the vertical line as well till you achieve a seamless finish. Once you are done completing the L shape, step back and look at yourself in the mirror to ensure a balanced and smooth transition between both lines. Make necessary adjustments where needed, and get ready to slay your days with a naturally sculpted healthy glow effect.